Bronzer vs Highlighter: A Complete Guide to Mastering These Makeup Essentials
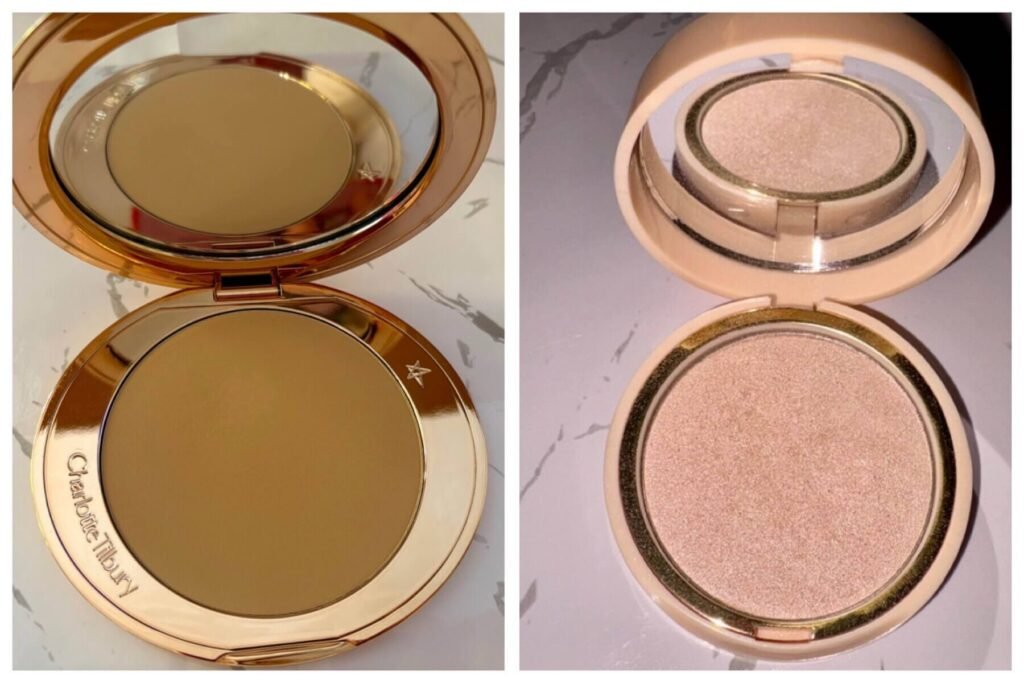
Bronzer and highlighter might just be the ultimate dream team in any makeup routine. They bring out the best in your facial features when used correctly.
And that’s the thing — you need some knowledge to get the most out of them. I was stumped when I first introduced these makeup staples to my routine. I’m not ashamed to say it took some trial and error to learn how to use them.
I’ve watched countless tutorials and experimented with various bronzer and highlighter formulas. Now I can confidently say I know how to use them to make my face look snatched.
If you’ve ever felt confused about how to use bronzer and highlighter, where to apply them, or how to choose the right products, don’t worry—you’re not alone!
I’ll break it all down together so you can confidently master these two popular makeup products.
What Is Bronzer?
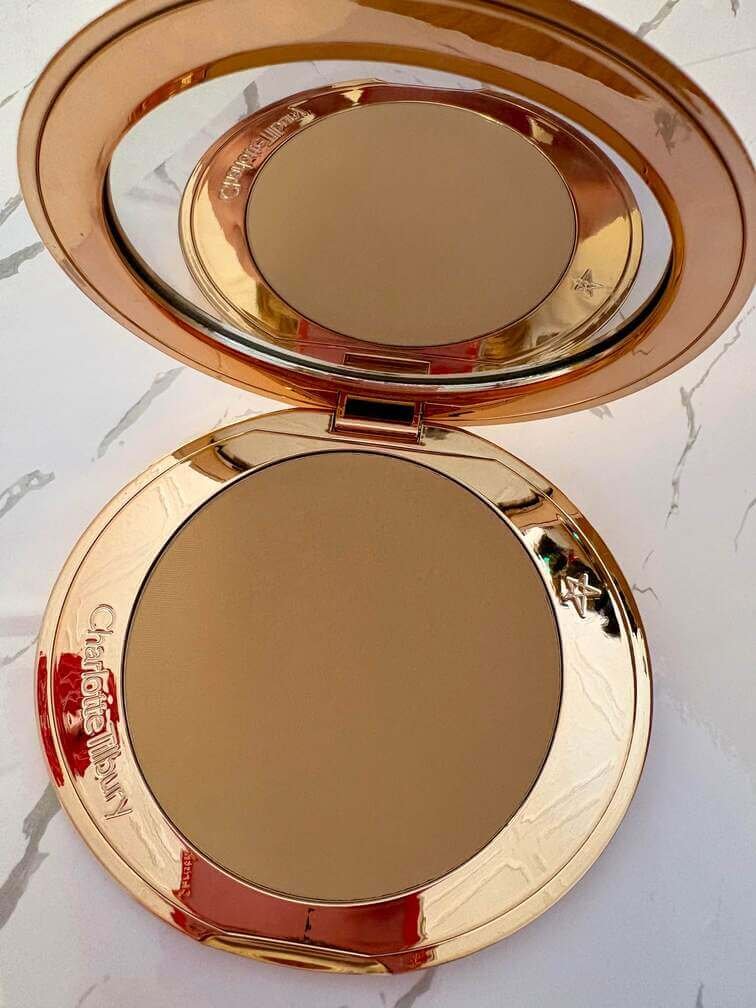
Bronzer is a makeup essential for adding warmth and dimension to your face.
Think of it as your go-to product for achieving that sun-kissed glow without spending hours under the sun—or risking sun damage.
It works wonders for enhancing your natural features and creates the illusion of shadows and depth.
You can use bronzer to define areas like the sides of your face, along your jawline, or in the hollows of your cheeks.
It’s also perfect for balancing out your complexion, especially if you feel your foundation has left your skin looking too flat.
Types of Bronzers
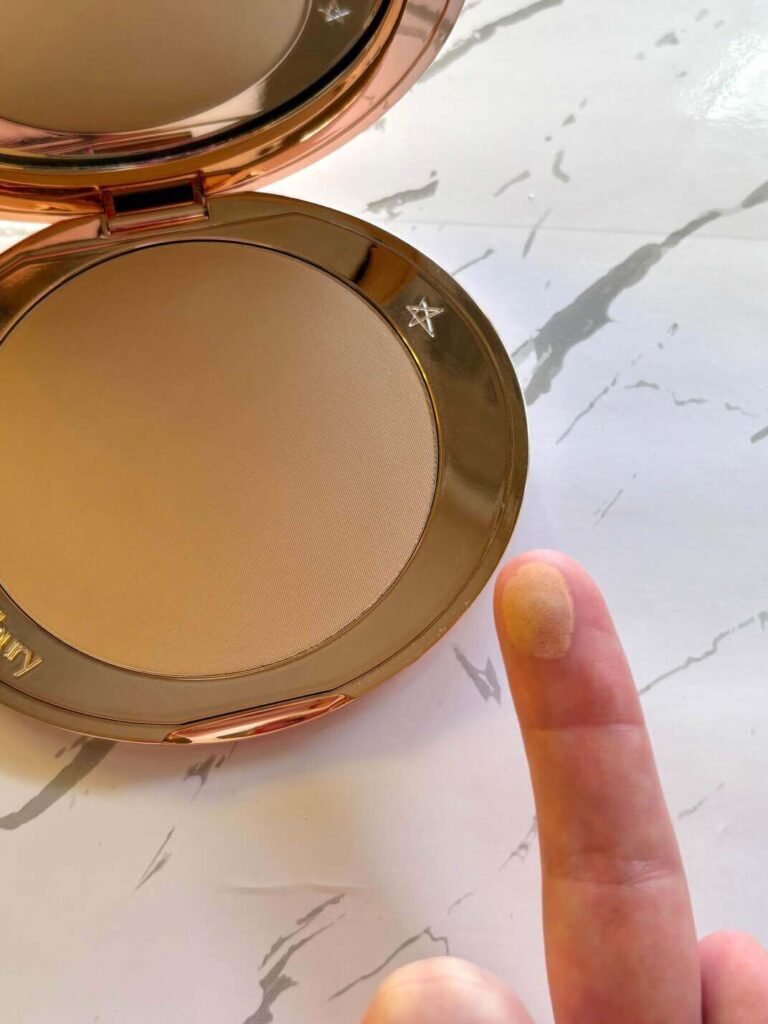
There are several bronzer formulas to choose from:
- Powder bronzer: Perfect for oily skin and easy to blend with a fluffy brush. Powder bronzer is also great for beginners because it’s forgiving and allows you to build up the color gradually.
- Cream bronzer: A great option for dry skin or if you’re after a more natural glow. Cream formulas tend to melt seamlessly into the skin, creating a dewy finish that looks fresh and hydrated.
- Liquid bronzers: Ideal for a seamless finish, especially on combination skin. These can be mixed with foundation for an all-over warmth or applied directly for a more targeted effect.
- Gel bronzers: Lightweight and perfect for a fresh-faced look. Gel formulas are less common but are wonderful for achieving a sheer, barely-there glow.
When I first started using bronzer, I went straight for a powder formula because my skin leans oily.
It was easy to control, and I could start with a small amount for a more natural-looking contour.
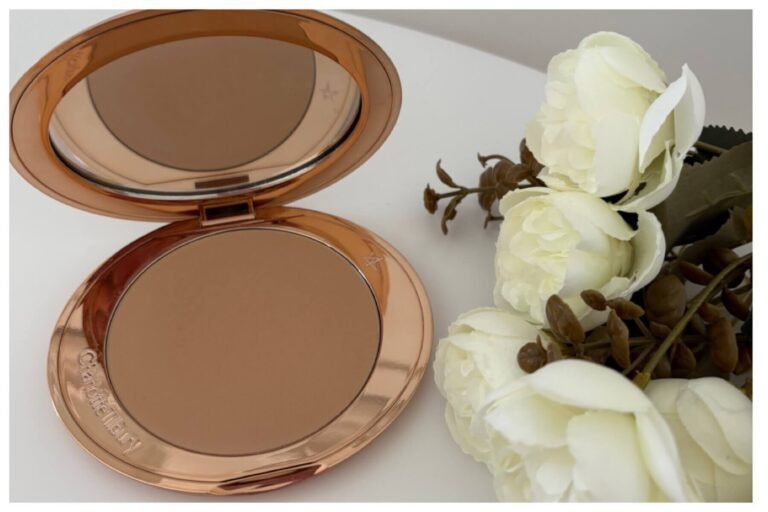
As I got more confident, I experimented with cream bronzer and fell in love with Charlotte Tilbury bronzer and how it gave my skin a soft, radiant finish.
How to Apply Bronzer
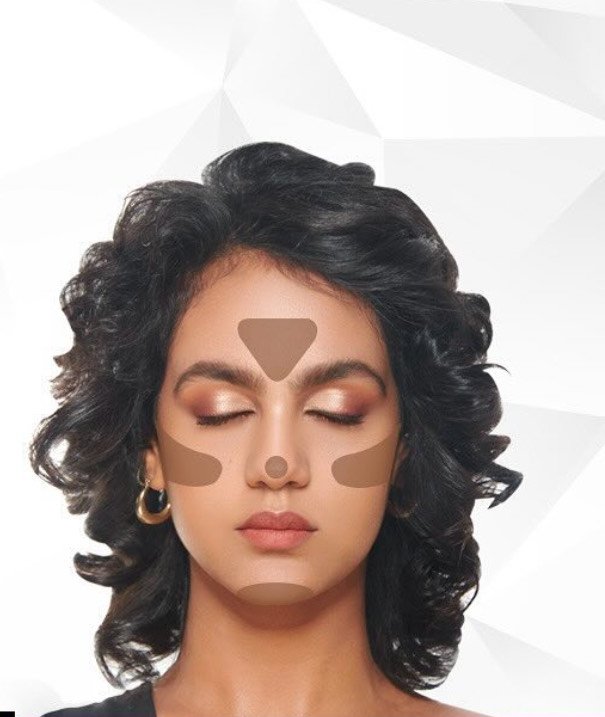
Here’s the right way to apply bronzer:
- Focus on the top of your forehead, sides of your face, hollows of your cheeks, and along your jawline.
- Use a fluffy brush and apply it in a circular motion, going towards the hairline to avoid harsh lines. A light hand is key to achieving a natural-looking finish.
Pro tip: Always choose a bronzer that’s 1-2 shades darker than your natural skin tone for the best results.
A common mistake I made early on was applying too much product, which made my face look muddy rather than warm and sun-kissed.
The trick is to build up the color slowly and blend well after each application. Trust me, less is more when it comes to bronzer.
What Is Highlighter?
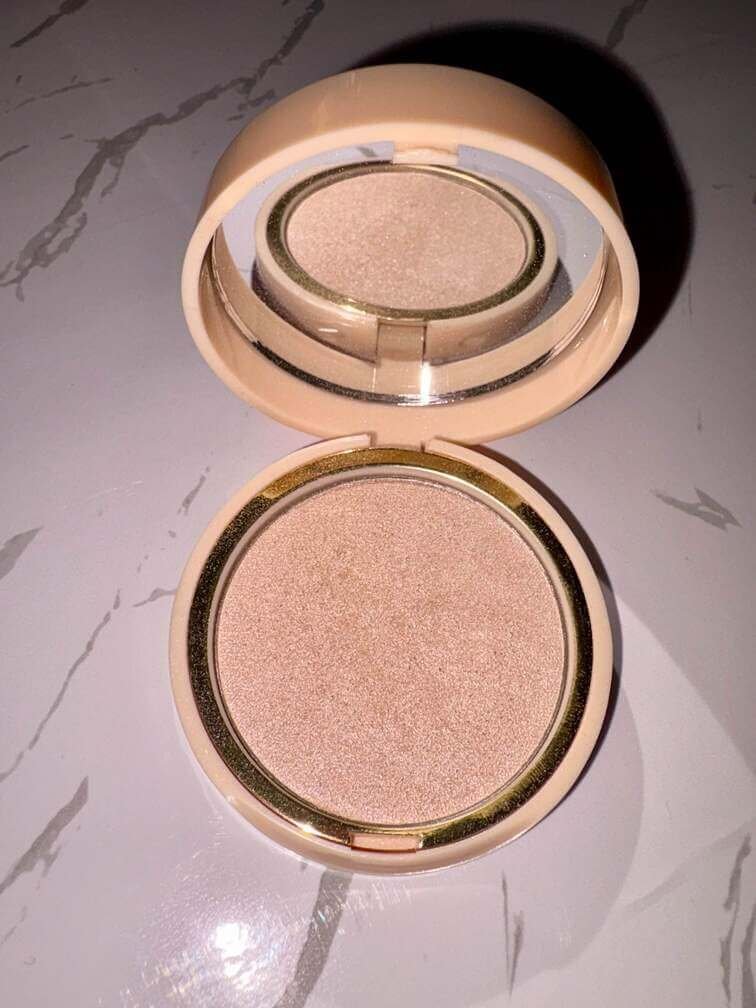
Highlighter is a makeup product designed to enhance your features by reflecting light and adding a radiant glow to your skin.
It’s applied to the high points of your face—like your upper cheekbones, bridge of the nose, brow bone, and cupid’s bow—to create a luminous, lifted look.
It emphasizes where light naturally hits your face and it’s the product that makes your makeup pop.
Types of Highlighters
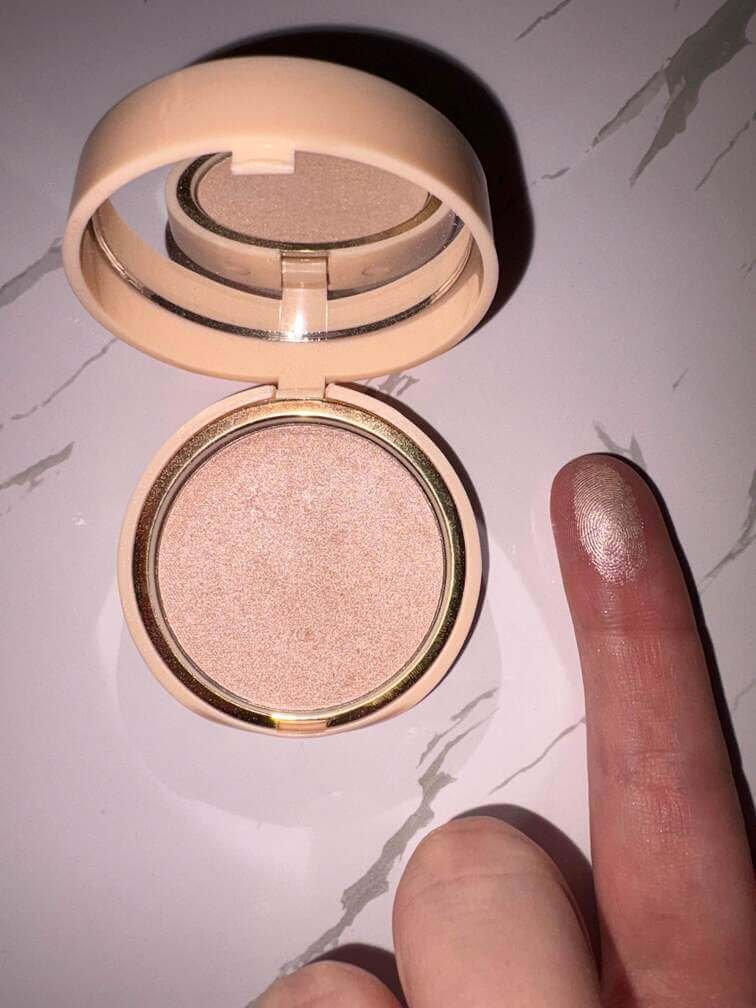
Just like bronzer, highlighter comes in several formulas:
- Powder formula: Best for oily skin and when you want a subtle glow. Powder highlighter is easy to control and can be layered over a matte base without looking cakey.
- Cream highlighter: Works beautifully on dry skin, giving a dewy finish. It easily blends with the skin, making it a great option for no-makeup makeup days.
- Liquid highlighter: Ideal for precise application and layering over foundation. You can mix it with your moisturizer or foundation for an all-over glow or apply it directly to specific areas for a more intense effect.
I’ve found that a cream highlighter blends best on days when my skin feels a little dry. It’s also a lifesaver for avoiding that dreaded powdery look.
On days when I’m going for a more glam look, I’ll layer a powder highlighter on top for extra shine.
How to Apply Highlighter
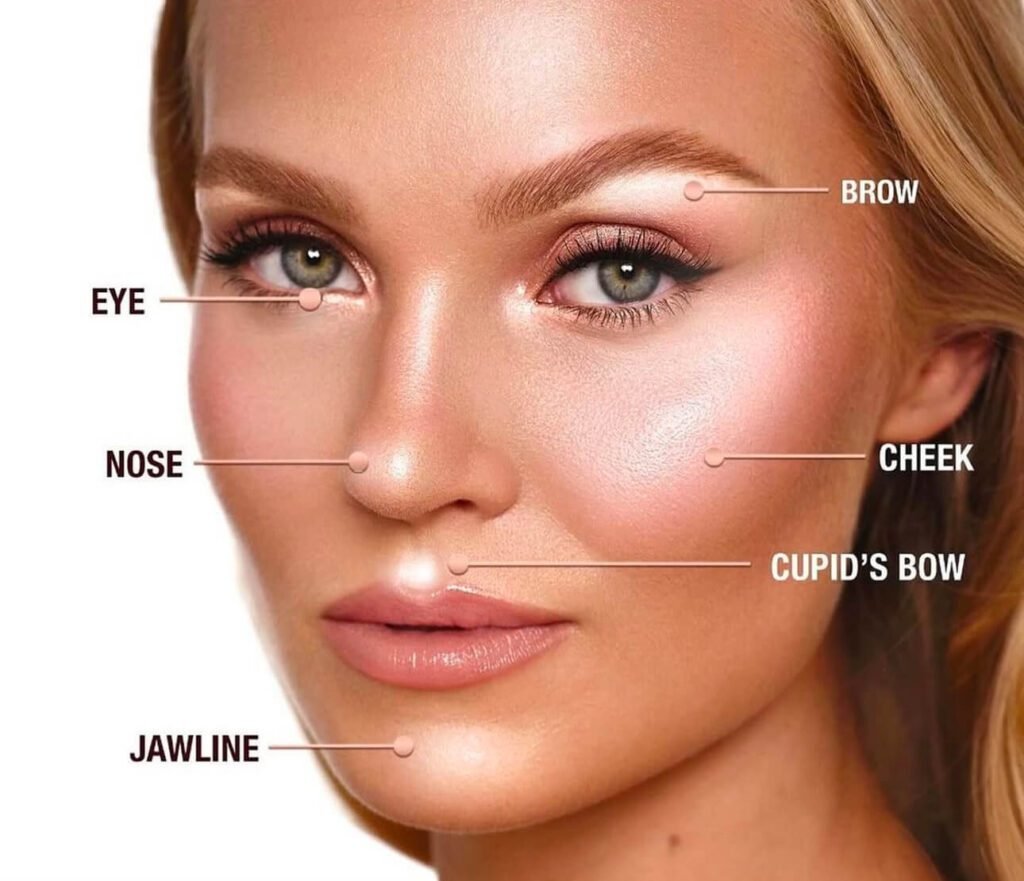
Here’s a quick breakdown of where to apply:
- Upper cheekbones: Blend upward for a lifted look. This placement draws attention to your eyes and gives your face a more youthful appearance.
- Bridge of your nose: Creates the illusion of a slimmer nose. Be sure to use a light hand here to avoid overdoing it.
- Cupid’s bow: Accentuates your lips and makes them appear fuller.
- Brow bone: Opens up the eyes and defines your eyebrows. A subtle highlight here can make your whole eye area look more awake.
Using a makeup sponge for liquid highlighter gives me the most seamless finish, especially when I’m in a rush.
If you’re using powder, a small, fluffy brush works wonders for precise application.
Key Differences Between Bronzer and Highlighter
The key difference between bronzer and highlighter lies in their purpose. Bronzer adds depth and warmth, while highlighter enhances light and brightness.
Think of them as opposites that work together for a harmonious look.
Placement
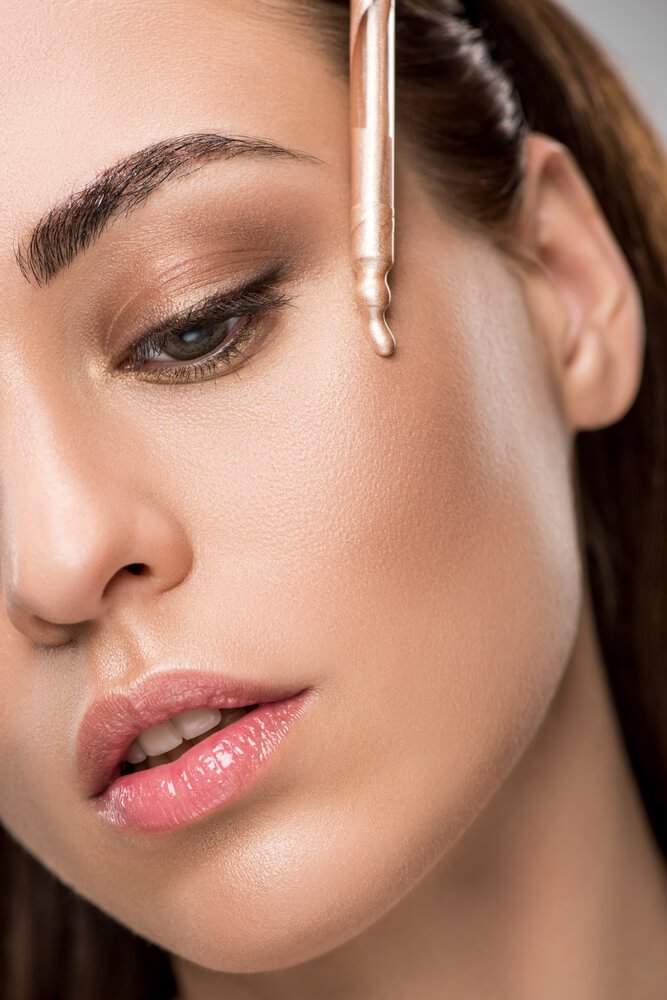
Bronzer is applied to the sides of your nose, top of your forehead, and hollows of your cheeks to create the illusion of shadows.
Highlighter, on the other hand, focuses on the high points of the face like the apples of your cheeks, tip of your chin, and brow bone for a radiant glow.
Product Types and Formulas
Bronzer comes in matte bronzers, natural bronzers, and even cool-toned products for contouring.
Matte bronzers are ideal for a more subtle look, while natural bronzers add a touch of shimmer for a glowing finish.
Highlighter is available in liquid highlighters, cream formulas, and powder products to suit every skin type.
Powder highlighters are great for oily skin, while cream and liquid formulas are better for dry or combination skin.
Pro tip: I’ve noticed that pairing a matte bronzer with a liquid highlighter gives me the best balance of warmth and brightness, especially when I’m aiming for a natural look.
Matching Your Skin Tone
- For warm undertones, go for bronzers with a red undertone or warm shades. Highlighters with golden or peachy tones work beautifully.
- For cool undertones, stick to cool tones and soft, shimmery highlighters. Think icy pinks or silvers.
- If you have neutral tones, you can play with both warm and cool shades for versatility.
Choosing the right shades for your skin tone can make or break your makeup look.
A bronzer that’s too warm can look orange, while the wrong highlighter can appear ashy. Test products on your skin before committing to find your perfect match.
How to Use Bronzer and Highlighter Together
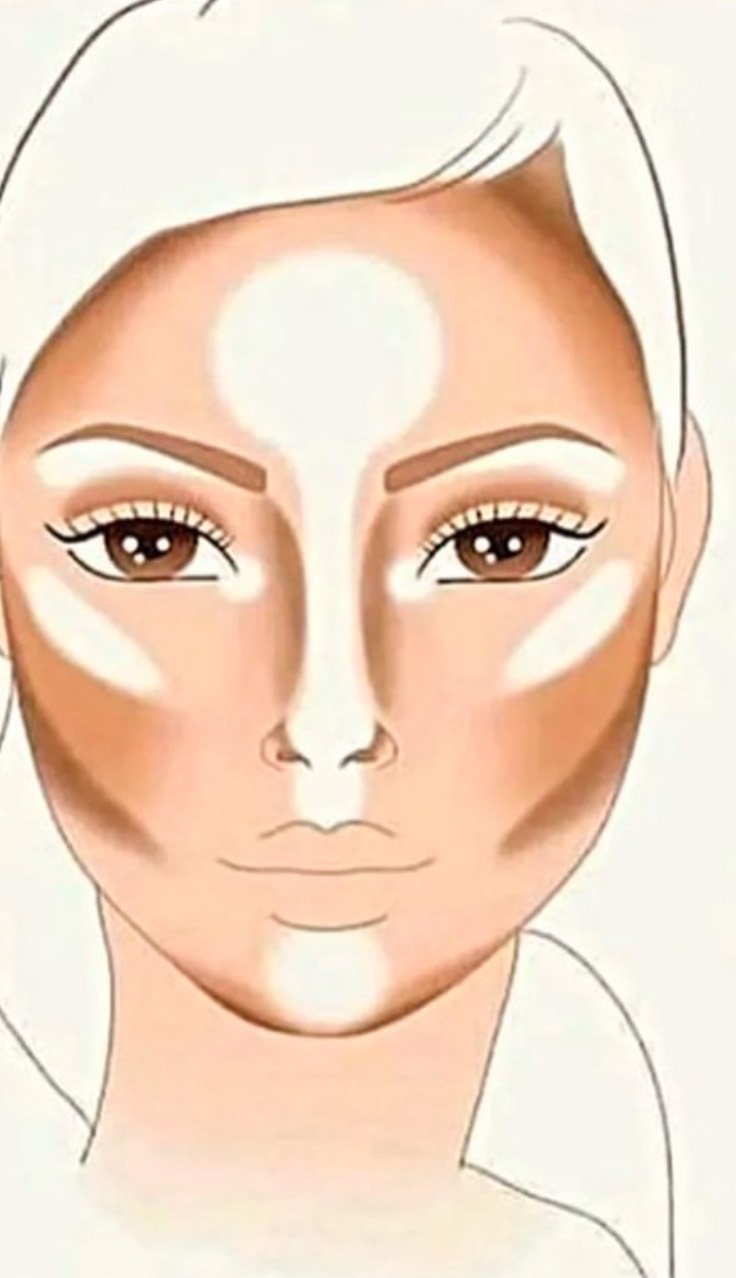
Using bronzer and highlighter together can take your makeup to the next level, but placement and blending are everything.
The Right Order
- Start with contour makeup if you’re using it. This sets the foundation for your bronzer and highlighter.
- Apply bronzer to add warmth and shadows. Focus on the sides of your face and blend well.
- Finish with highlighter for that radiant touch. Apply it to the high points of your face to catch the light beautifully.
Tips for Different Face Shapes
- Round faces: Focus bronzer on the sides of your face to add definition. Highlight the bridge of your nose and upper cheekbones to elongate your features.
- Heart face shapes: Use bronzer on the top of the forehead and jawline. Add highlighter to the cupid’s bow and tip of the chin to balance the wider forehead.
- Square faces: Soften angular features by applying bronzer along the jawline and temples. Highlight the apples of your cheeks for a soft glow.
When I first tried this, I was shocked at how much the right placement could change the shape of my face.
A little bronzer in the hollows of your cheeks and highlighter on the brow bone can make such a difference.
Don’t be afraid to experiment and find what works best for you.
Choosing the Right Products for Your Skin Type
Oily Skin
- Opt for powder bronzers and matte finishes to keep shine under control. Matte bronzers are also great for creating a more subtle contour.
- Pair with a powder highlighter for a balanced look. Avoid products with chunky glitter as they can emphasize oiliness.
Dry Skin
- Cream bronzers and liquid highlighters work beautifully for adding a dewy, hydrated look. These products blend seamlessly into the skin, making it look fresh and glowing. For dry skin, avoid powders that might settle into fine lines or make the skin look flaky.
- A cream highlighter on the apples of your cheeks and cupid’s bow adds a soft, radiant glow that’s perfect for a natural makeup look
Combination Skin
For combination skin, a mix of products often works best. Here’s how you can tailor your bronzer and highlighter routine:
- Bronzer: Use a powder bronzer on the areas of your face that tend to get oily, like the sides of your face and forehead, for a matte finish. For drier areas, like the hollows of your cheeks, a cream bronzer can provide a seamless, natural glow.
- Highlighter: Opt for a liquid highlighter for versatility—it works well on both oily and dry areas. Dab a small amount on the high points of your face and blend it out with a makeup sponge for the best results.
With combination skin, the key is balancing textures. I’ve found that applying a light dusting of setting powder over cream or liquid products can help everything stay in place throughout the day.
Common Mistakes and How to Avoid Them
Even seasoned makeup enthusiasts can make mistakes with bronzer and highlighter. Here are the most common ones and how to fix them:
- Applying Too Much Product: Overdoing bronzer can make your face look muddy, while too much highlighter can leave you looking overly shiny. Use a light hand and build up the product gradually.
- Wrong Placement: Misplacing bronzer too low on your cheeks can drag your face down, and applying highlighter in the wrong areas can make your skin look greasy. Always follow your natural bone structure to guide your application.
- Choosing the Wrong Shades: Using a bronzer that’s too dark or warm can look unnatural, while the wrong highlighter shade can appear ashy. Stick to products that match the range of your natural skin tone and undertones.
- Skipping Blending: Harsh lines from bronzer or highlighter can disrupt the natural look. Blend using a fluffy brush or makeup sponge for seamless application.
I’ve made all of these mistakes at some point. Learning to go slowly and step back to evaluate the look has helped me avoid these pitfalls.
Bronzer vs. Highlighter: Final Thoughts
Bronzer and highlighter are essential tools for elevating any makeup routine, from creating a sun-kissed glow to adding a radiant look to your skin.
The important thing is understanding how these products work together and using them in a way that complements your unique facial features and skin type.
So grab your fluffy brush or makeup sponge, experiment with different shades and formulas, and discover what works best for you. With a little practice, you’ll have a glowing, sculpted look in no time!
Now that you know all about bronzer vs highlighter, check out lipstick vs. lipgloss for a stunning makeup look.



8 Comments